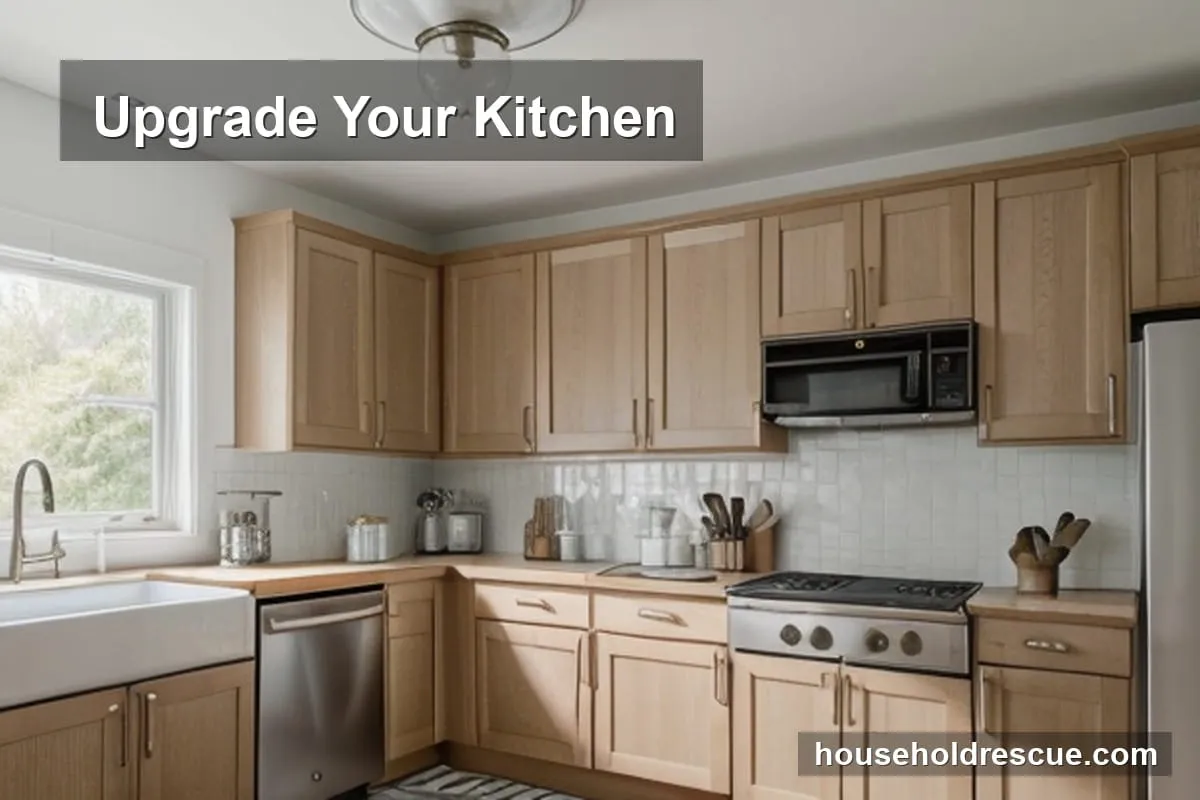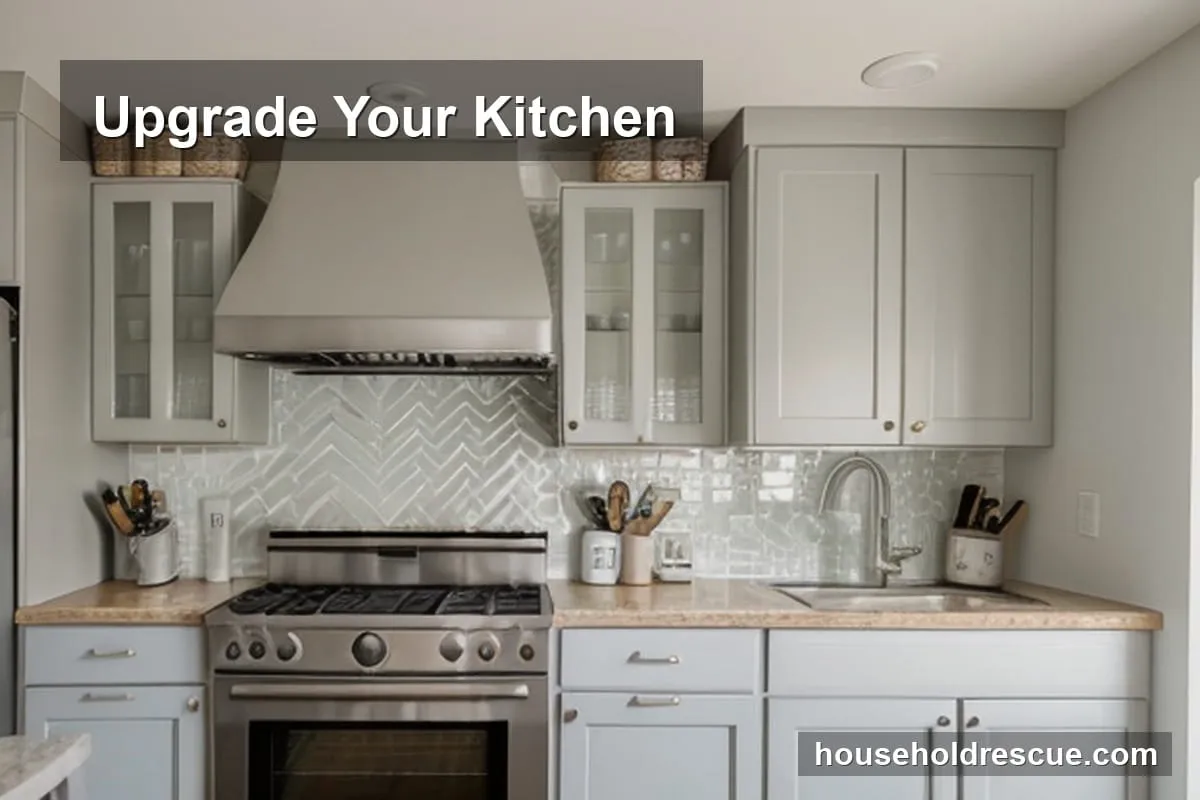
Let's be honest: a kitchen backsplash often feels like that final, expensive detail you just can't quite afford. You've spent the budget on cabinets and appliances, and now you're staring at a wall of plain drywall or outdated tile, wondering if you have to leave it looking dull forever. The good news? You don't need a contractor or a second mortgage to make your kitchen look polished. I've seen homeowners transform their entire cooking space with just a roll of peel-and-stick tiles and some elbow grease.
Whether you are renting a place where you can't hammer nails, or you're a homeowner on a strict renovation budget, the goal is the same: high style for low cost. We're talking about solutions that actually work in the real world—kitchens where people cook, steam rises, and grease splatters happen. It's not just about aesthetics; it's about finding something that stands up to daily life without breaking the bank.
Key Takeaways
- Peel-and-stick tiles offer an instant, renter-friendly upgrade that costs a fraction of traditional tile.
- Painted wood or beadboard adds warmth and texture without the heavy price tag of stone or glass.
- Smart design tricks like using light colors can visually expand small kitchen spaces.
- Repurposing materials is a sustainable way to cut costs while creating a unique look.
Why a Backsplash Matters: Style, Function, and Longevity
It's easy to think of a backsplash as purely decorative, but functionally, it is your kitchen's first line of defense. Every time you wash vegetables or sear meat, water, grease, and food particles fly toward the wall behind your sink and stove. Without a proper barrier, that grime soaks into drywall or old paint, leading to stains, mold growth, and eventually, structural damage.
Choosing the right material impacts how easy your kitchen is to clean. A glossy ceramic tile wipes down in seconds, whereas unsealed wood might require a deep scrub every few days. While high-end options like Carrara marble or custom glass mosaics look stunning, they often come with price tags that include labor costs you didn't plan for. Fortunately, the market has shifted. You can now find materials that mimic expensive stone or offer modern textures at a fraction of the cost.
Affordable Materials for a Stylish Backsplash
The secret to a budget-friendly backsplash isn't just finding cheap materials; it's choosing the right material for your specific situation. Here is a breakdown of the most effective options that balance cost, durability, and style.
| Material | Estimated Cost (per sq ft) | Pros | Cons |
|---|---|---|---|
| Peel-and-Stick Tiles | $1–$5 | Easy DIY installation, removable, huge variety of designs | Not heat-resistant, edges may lift over time if not applied perfectly |
| Painted Wood/Beadboard | $2–$8 | Warm, rustic aesthetic; highly customizable color options | Requires sealing against moisture; can warp in high humidity if not treated |
| Ceramic Tiles | $3–$10 | Durable, water-resistant, fireproof, wide color selection | Requires grout maintenance; can be slippery when wet |
1. Peel-and-Stick Tiles: The No-Mess Revolution
If you are looking for the easiest route to a new look, peel-and-stick tiles are hard to beat. Think of them as giant, high-quality wallpaper stickers. They come in rolls or individual squares and feature an adhesive backing that sticks directly to smooth surfaces. You don't need mortar, grout, or special tools.
This is the go-to solution for renters who want to personalize their space without losing their security deposit. They are also perfect for a quick weekend refresh. The installation process is straightforward: clean the wall with alcohol to remove grease, measure your space, and press the tiles onto the surface. Many brands now offer designs that look remarkably like subway tile, marble, or even metal.
2. Painted Wood: A Warm, Rustic Touch
For a cozy, farmhouse vibe that feels inviting rather than sterile, painted wood is an excellent choice. You can use beadboard panels, which are pre-grooved and fit together like puzzle pieces, or simple wooden planks (shiplap style). Once installed, you paint them to match your kitchen's color palette.
This approach adds significant texture and warmth that tile simply cannot replicate. It is particularly effective in kitchens with neutral tones, as the wood grain provides depth even when painted a solid color. Just remember that wood is porous, so sealing it properly is non-negotiable to prevent water damage from splashes.
3. Ceramic Tiles: Classic and Durable
Ceramic tiles remain the gold standard for durability, and you don't need to spend a fortune on them. You can find budget-friendly ceramic options at most home improvement stores that look just as good as the expensive brands. When shopping, look for matte finishes rather than glossy ones; they are less slippery and hide water spots better.
While installation is more labor-intensive than peel-and-stick options, the long-term payoff is worth it. Ceramic is fireproof and can withstand high heat, making it the only choice if you plan to install a backsplash directly behind your cooking range. For those who prefer a hands-off approach to home maintenance, ceramic tiles are incredibly easy to wipe down.
DIY Backsplash Ideas That Save You Money
You don't need professional skills to install a backsplash yourself. In fact, doing it yourself can save you hundreds of dollars in labor costs. Here are three practical DIY projects that yield professional-looking results.
Step 1: Create a Mosaic Tile Backsplash
This project is ideal for repurposing old tiles or buying discounted materials from clearance sections. You can buy mosaic sheets (tiles pre-glued to mesh) which makes the layout much easier than laying individual pieces. Simply apply tile adhesive to the wall, press the sheet into place, and let it dry before grouting. This creates a custom, high-end look for a fraction of the cost.
Step 2: Paint Your Own Backsplash
If you already have existing tile or a flat wall that is in good condition, painting can be the fastest and cheapest upgrade. Use a high-quality, heat-resistant paint designed for kitchens. You can use stencils to add geometric patterns or a metallic accent strip to break up solid colors. This method works wonders for updating dated subway tiles without the mess of demolition.
Step 3: Use Repurposed Materials
Have leftover materials from other projects? Don't throw them away. Old subway tiles, scrap wood, or even repurposed glass bottles can become unique backsplash elements. This approach is not only cost-effective but also eco-friendly. For instance, arranging old ceramic pieces in a random pattern creates an eclectic, artistic look that feels curated rather than mass-produced.
Smart Design Choices for Small Kitchens
In a small kitchen, every inch counts. Your backsplash choice can significantly impact how spacious the room feels. Light-colored tiles, vertical patterns, and reflective surfaces are your best friends here. They draw the eye upward and reflect available light, making the room feel airier.
For inspiration on maximizing space, check out our guide on how to organize your entryway shoes for effortless daily access. The principles of decluttering and smart storage apply equally to kitchen design—keeping surfaces clear makes the room feel larger and more functional.
Repurposing Existing Materials
One of the most budget-friendly strategies is simply not buying anything new. If you have old tiles or materials from a previous renovation, they can often be repurposed in creative ways.
- Old Tiles: Use them as mosaic accents to create a feature wall or border. You don't need hundreds of tiles; just a few scattered pieces can add character.
- Wood Panels: If you have scrap wood, paint or stain it for a fresh look. It adds warmth and texture that new materials sometimes lack.
- Backsplash Paint: Sometimes the solution is right in front of you. A fresh coat of high-quality, washable paint can update the space instantly without any construction work.
Maintenance Tips for Long-Lasting Backsplashes
Once you've installed your new backsplash, keeping it looking good requires minimal effort, but regular care is essential. For materials like wood or painted surfaces, sealing them annually with a clear coat helps protect against moisture and grease buildup.
If you are using peel-and-stick tiles, check the edges occasionally to ensure they haven't lifted. A quick press with your fingernail can often re-adhere them if caught early. For ceramic or glass tiles, a mixture of warm water and mild dish soap is usually sufficient for daily cleaning. Avoid abrasive scrubbers that could scratch the surface.
For broader home maintenance advice, consider reading eco-friendly seasonal home maintenance for a sustainable home. Keeping your home's systems and surfaces in good repair year-round ensures longevity and prevents costly repairs down the line.
Common Mistakes to Avoid
Even with the best intentions, it's easy to make mistakes that can ruin a budget-friendly project. Here are the most common pitfalls to watch out for:
- Ignoring Heat Resistance: Never use plastic-based materials like standard peel-and-stick tiles directly behind a stove. The heat will damage them quickly.
- Skipping Sealing: If you choose wood or grout-heavy tile, failing to seal the surface can lead to water damage and mold growth over time.
- Overcomplicating Designs: Simple patterns are often more effective and easier to maintain than intricate designs. Don't get lost in complex layouts that take forever to install and look dated quickly.
Frequently Asked Questions
Q1: Can I install a backsplash myself?
Yes, many budget-friendly options like peel-and-stick tiles or painted wood are designed specifically for DIY installation. You just need to follow the manufacturer's instructions carefully and take your time with measurements to ensure a perfect fit.
Q2: What's the cheapest way to update my backsplash?
Painting your existing backsplash or using peel-and-stick tiles are the most cost-effective solutions. Both options require minimal investment in materials and can be completed over a weekend without professional help.
Q3: Are there eco-friendly backsplash ideas?
Absolutely. Repurposing old materials, using natural stone, or opting for low-VOC paints are excellent eco-friendly choices. For more tips on sustainable living, see our article on seasonal maintenance tips to keep your home sustainable.
Q4: How do I choose the right color for my backsplash?
Light colors like white, beige, or soft gray can make a kitchen feel larger and brighter. Darker shades add drama but may require more maintenance to keep them looking clean. Consider your kitchen's overall color scheme and lighting before deciding.
Q5: Can I use glass tiles on a budget?
Absolutely! Look for discounted glass tiles at home improvement stores or online retailers. They reflect light and add a modern touch without the high cost of custom installations, making them a great value.
Q6: What's the best backsplash for a rental kitchen?
Peel-and-stick tiles are ideal for renters because they're easy to remove and leave no damage. They're also a quick way to personalize a space without permanent changes, ensuring you get your deposit back when you move.
Final Thoughts: Make It Work for You
Kitchen backsplash ideas on a budget are more accessible than ever. Whether you opt for DIY projects, repurposed materials, or affordable tiles, the key is to choose a solution that fits your style, budget, and lifestyle. With a little creativity and planning, you can achieve a stunning kitchen that's both functional and beautiful.
Key Takeaways
- Peel-and-stick tiles and painted wood are top choices for budget-friendly backsplashes.
- DIY projects like mosaics or repurposed materials save money and reduce waste.
- Light colors and vertical patterns enhance small kitchens visually.
- Regular maintenance with eco-friendly methods ensures long-lasting results.
This article provides general home improvement information and is not a substitute for professional advice. Always consult with a qualified contractor or specialist for complex installations, especially those involving electrical or plumbing components.