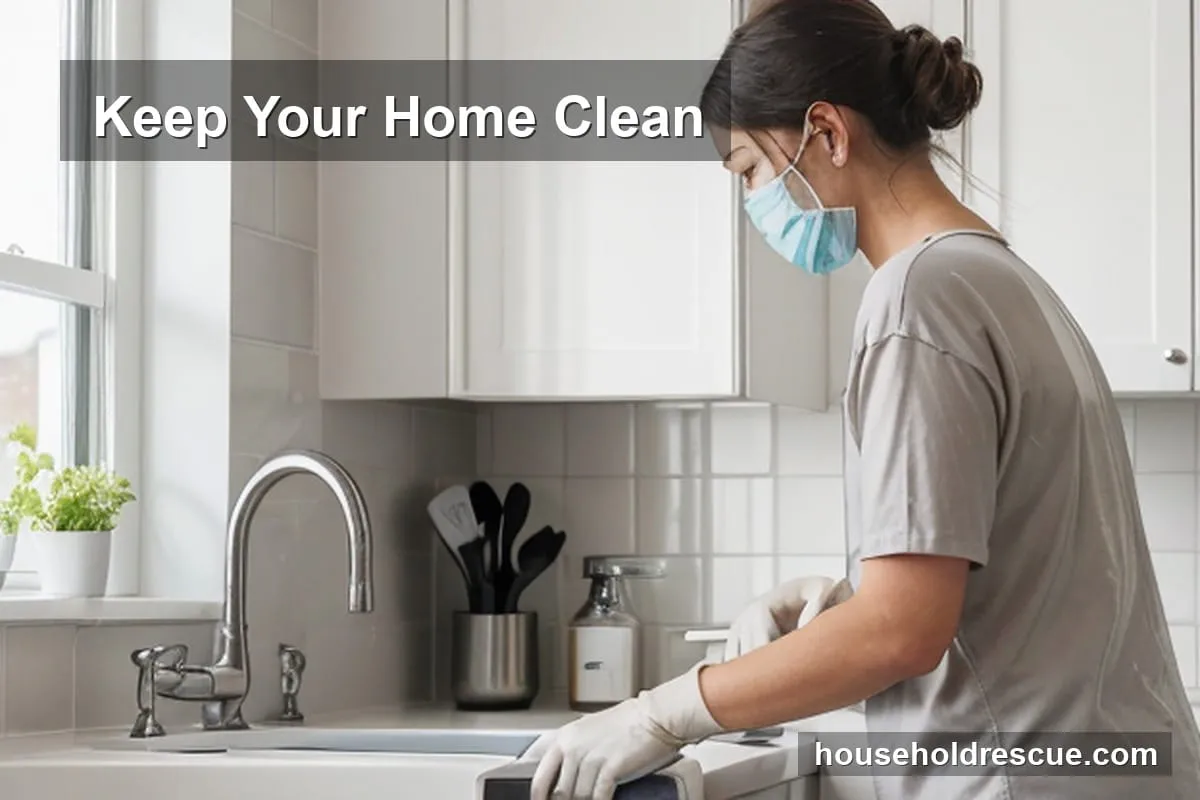
There is nothing quite like the satisfaction of pulling a massive feast out of the oven, only to turn around and face the aftermath. You know the drill: pots piled high in the sink, flour dusted across the counters like snow, grease splattered on the backsplash, and the lingering smell of burnt garlic that refuses to go away. It's a classic scenario whether you're hosting a holiday dinner for twenty or just trying to make a complicated weeknight stir-fry. Your kitchen has transformed from a sanctuary into a battlefield in record time.
Most people want to skip the cleanup and collapse on the couch, but leaving that mess overnight is a recipe for disaster. Grease hardens, food scraps attract pests, and bacteria start multiplying faster than you can imagine. The good news? You don't need a team of professional cleaners to turn things around. With a strategic approach, you can tackle the grime without burning out before dessert.
The Real Cost of Skipping the Cleanup
It's tempting to think, "I'll just deal with it tomorrow." But here's the reality: overnight soaking turns sticky spills into cement-like bonds. What starts as a few crumbs on the floor becomes a trail for ants or cockroaches by the next morning. Grease splatters on your stovetop aren't just unsightly; they are highly flammable. If you leave that buildup, you're essentially creating a fuel source right next to your burners.
There's also the health angle. A dirty kitchen is a breeding ground for Salmonella and E. coli. If you've been chopping raw chicken or handling unwashed vegetables, those surfaces need immediate attention. Plus, let's be honest, coming into a spotless kitchen in the morning sets a much better tone for your day than stepping over a pile of dirty dishes.
Thorough cleaning also protects your investment. Stainless steel appliances can corrode if acidic foods sit on them too long. Granite countertops can stain if oils penetrate the sealant. By cleaning up while things are still fresh, you extend the life of your gear significantly.
The Strategic Cleanup: A Step-by-Step Battle Plan
Trying to clean everything at once is a recipe for failure. You'll get overwhelmed, and nothing will get done properly. Instead, break it down into phases. Think of this as a tactical operation where you secure the perimeter before moving in for the deep clean.
Phase 1: The Triage (Right After Eating)
Don't even think about sitting down yet. Spend the first five minutes doing damage control. Your goal here is to stop food from hardening and to clear space to work.
- Scrape and Scrape: Take your spatula or a stiff scraper and get all the solid food off the stovetop grates and into the trash. If you wait, that burnt-on cheese becomes a nightmare to remove later.
- The Quick Wipe: Grab a microfiber cloth and some warm soapy water. Quickly wipe down the counters where you prepped ingredients. You don't need to sanitize yet; just remove the bulk of the crumbs and spills.
- Load the Dishwasher: Get the heavy pots, pans, and baking sheets soaking in the dishwasher or the sink right away. If they sit dry, food will bond to the metal. Fill them with hot water and a drop of dish soap immediately.
- The Trash Run: Take out the trash and compost before it starts smelling up the room. A full bin is a magnet for pests.
Phase 2: The Deep Clean (The Heavy Lifting)
Once the obvious mess is gone, you can focus on the surfaces that need serious work. This is where you tackle the grease and grime.
Taming the Stovetop Beast
The stovetop is usually the dirtiest part of the kitchen. For electric coils or glass tops, a degreasing spray works wonders. Spray it on, let it sit for a minute to break down the oil, and then scrub with a non-abrasive sponge. If you have a gas stove, be careful not to soak the ignition points.
For those stubborn spots that won't budge, try a paste of baking soda and water. It acts as a gentle abrasive that lifts grime without scratching your finish. Let it sit for 10-15 minutes, then wipe away. If you have a lot of heavy buildup, you might find that using a kitchen safety guide on chemical handling is useful here, especially regarding ventilation.
The Oven and Range Hood
Ovens are notorious for their baked-on messes. You can use a commercial oven cleaner, but be sure to follow the instructions carefully, these chemicals can be harsh. Alternatively, a paste of baking soda and vinegar works surprisingly well for lighter buildup. Let it fizz and sit overnight if you have the time.
Don't forget the range hood! Grease accumulates there faster than anywhere else. If you ignore it, you're risking a fire hazard. Remove the filters and soak them in hot soapy water with degreaser. Wipe down the fan blades carefully. It's a small task that makes a huge difference in safety.
Countertops and Sinks
Your countertops need to be sanitized, not just cleaned. A solution of vinegar and water works well for most surfaces, but check your material first. For stainless steel, wipe with the grain to avoid streaks. The sink is often overlooked, yet it's one of the germiest spots in the house. Scrub the basin, the drain stopper, and the faucet handles. A little bleach solution or a dedicated disinfectant spray goes a long way here.
Phase 3: Sanitization (The Final Polish)
Cleaning removes dirt; sanitizing kills germs. This step is crucial if you've prepared raw meat or eggs. Focus on high-touch areas like cabinet handles, light switches, and appliance knobs. These are the places your hands go repeatedly, transferring bacteria from food prep to your face.
For cutting boards, especially wooden ones, a heavy scrub with lemon and salt can help remove odors and stains. For plastic boards, run them through the dishwasher on a sanitize cycle if they are rated for it.
The Toolkit: What You Actually Need
You don't need to buy every gadget on the market, but having the right basics makes the job infinitely easier and faster.
- Microfiber Cloths: These are superior to cotton rags because they trap dust and grease rather than just spreading it around. They leave surfaces streak-free.
- Stiff Nylon Brushes: Perfect for scrubbing grill grates or stuck-on food in the sink without damaging the surface.
- Squeegee: Great for wiping down glass stovetops and windows quickly without leaving lint behind.
- Vinegar and Baking Soda: The classic duo. They are cheap, effective, and non-toxic, making them perfect for general cleaning tasks.
- Steam Cleaner: If you have a heavy-duty mess, a handheld steam cleaner can blast away grease with just hot water and pressure. It's a great alternative to harsh chemicals.
Pitfalls: What NOT to Do
Even well-meaning cleaners make mistakes that can damage your kitchen or put you at risk.
- The Bleach Mix-Up: Never mix bleach with ammonia or acidic cleaners like vinegar. The reaction creates chloramine gas, which is incredibly dangerous to inhale. Stick to one product at a time.
- Scrubbing Too Hard: Using steel wool on non-stick pans or glass tops will scratch them permanently. Use the right tool for the surface.
- Ignoring the Fridge and Pantry: If you prep a lot of food, crumbs often fall into these areas. Check behind the fridge and inside pantry shelves for mold or pests that might have been attracted by the mess.
- Neglecting the Exhaust Fan: As mentioned before, grease buildup in the fan is a fire hazard. It's easy to forget about until it's too late.
Maintenance: Keeping the Grime Away
Cleaning up after a big meal is reactive; maintenance is proactive. The best way to handle heavy messes is to prevent them from becoming permanent fixtures.
- Wipe Down Daily: A quick wipe of counters and the stovetop every night prevents buildup. It takes two minutes but saves you hours on weekends.
- Use Trivets and Mats: Protect your countertops from hot pots and spills by using trivets and absorbent mats. This simple habit keeps your surfaces looking new longer.
- Organize for Efficiency: If your kitchen is cluttered, cleaning becomes harder. Use smart storage solutions (even though they are for bathrooms, the principles apply to kitchens too!) to keep counters clear.
- Vacuum Regularly: A vacuum with a HEPA filter can pick up dust and allergens from floors and cabinets that a broom might miss.
Making Your Kitchen a Safe Space
Cleaning involves chemicals, hot water, and sharp objects. It's important to stay safe while you work. Always wear gloves if you are using strong degreasers or bleach. Ensure the room is ventilated by opening windows or turning on exhaust fans.
If you have small children or pets, make sure all cleaning products are stored out of reach immediately after use. Accidents happen quickly in a kitchen environment. Remember, safety comes first. For more detailed advice on avoiding accidents while working in your home, check out our guide on essential kitchen safety tips.
And if you are feeling inspired to improve other parts of your home after a long cleaning session, why not look at how to professional plumbing can elevate your bathroom remodel? Or perhaps you want to make your outdoor space more inviting with string lights for a magical outdoor space?
Frequently Asked Questions
1. How often should I actually deep clean my kitchen?
Most experts recommend a full deep clean once a week. But if you've had a big cooking session, don't wait for the scheduled day, clean it up immediately. The longer food sits, the harder it is to remove.
2. Is vinegar safe for all kitchen surfaces?
Vinegar is great for glass and stainless steel, but you should avoid using it on natural stone like granite or marble. The acid can etch the surface over time, dulling the finish. For stone, stick to a pH-neutral cleaner.
3. What's the best way to get grease out of a range hood?
Remove the filters and soak them in hot water with dish soap and baking soda for at least 30 minutes. Scrub them gently with a brush, rinse, and dry before putting them back. For the fan blades, use a degreasing spray and wipe down carefully.
4. Can I leave my dishes soaking overnight?
Yes, in fact, it's often better to let them soak. It loosens dried-on food and makes washing much easier. Just make sure you don't leave them soaking for days, as this can lead to bacterial growth and rust on metal items.
5. How do I stop my sink from smelling?
A bad smell usually means food is stuck in the drain pipe. Pour a pot of boiling water down the drain once a week. You can also use a mixture of baking soda and vinegar, let it fizz for 10 minutes, then flush with hot water.
6. Are there eco-friendly options for cleaning?
Absolutely. Baking soda, white vinegar, lemon juice, and castile soap are all excellent natural cleaners. They work well for most tasks and are much safer for the environment and your health than harsh chemicals.
Wrapping Up
Cleaning a kitchen after a heavy meal prep doesn't have to be a dreaded chore. By breaking it down into manageable steps and using the right tools, you can turn a messy disaster into a sparkling room in no time. The key is consistency, wipe as you go, tackle the tough spots immediately, and don't forget the safety precautions.
With a little effort, your kitchen will remain a clean, safe, and inviting space for all your future culinary adventures. And if you're looking to spruce up other areas of your home while you're at it, maybe check out some creative wall decor ideas or see how you can choose the right wall decor for your dining room to match your new clean vibe.