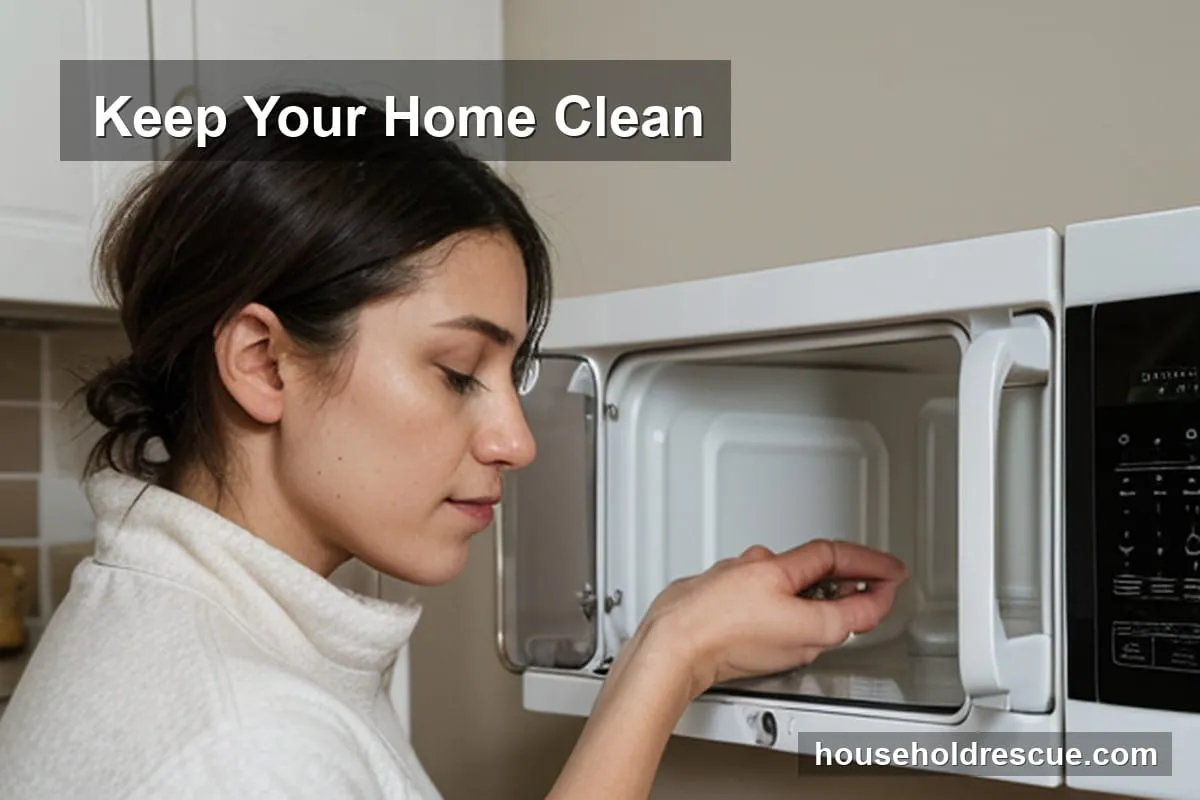
Is your microwave constantly smelling like burnt popcorn from three days ago? You're not alone. We've all been there—scraping a chunk of dried-up lasagna off the ceiling and wondering how it got so hard in the first place. Microwaves are the workhorses of our kitchens, but they're also notorious for trapping odors and turning food splatters into permanent stains if left unchecked.
Here's the reality: a dirty microwave isn't just an eyesore; it can actually start affecting how your food tastes. Plus, that warm, damp interior is a perfect breeding ground for bacteria. The good news? You don't need to scrub with industrial-grade chemicals or spend your Saturday morning on hands and knees. A few simple habits and the right natural ingredients can keep your appliance sparkling fresh in minutes.
Key Takeaways
- Daily Wipes Prevent Stuck-On Grime: A quick 30-second wipe after every use stops food from hardening and becoming a nightmare to remove later.
- Steam is Your Best Friend: Heating a bowl of water with lemon or vinegar softens stubborn grease instantly, making it easy to wipe away without harsh scrubbing.
- Don't Forget the Seal: The rubber gasket around the door traps odors and bacteria more than the interior walls—clean it weekly for a truly fresh microwave.
Why a Clean Microwave Matters (It's Not Just About Looks)
A dirty microwave is often dismissed as a minor inconvenience, but the impact goes beyond aesthetics. When food particles are left inside, they don't just sit there; they bake onto the walls with every subsequent use. Over time, this buildup creates a sticky, carbonized layer that's incredibly difficult to remove. More importantly, these residues can release unpleasant odors that permeate your food, turning a bowl of plain rice into something that smells faintly of yesterday's burnt toast.
There's also the hygiene factor. Microwaves are warm and moist environments—essentially an incubator for bacteria if not cleaned regularly. A study by the National Institute of Standards and Technology (NIST) has highlighted that kitchen appliances, including microwaves, can harbor significant bacterial loads if food debris isn't removed promptly[1]. Regular cleaning ensures your appliance runs efficiently, prevents cross-contamination between meals, and extends the life of the unit.
The Hidden Health Risks
Many people assume microwaves are sterile because they use radiation to heat food. While the radiation itself kills bacteria during the heating cycle, it doesn't clean the surfaces. If you leave a splatter of gravy or a drop of soup inside, that spot becomes a sanctuary for microbes between uses.
Ignoring these residues can lead to lingering smells that transfer to your food. Have you ever heated up leftovers only to taste a hint of burnt popcorn? That's cross-contamination. It's not just about the smell; it's about keeping your kitchen hygienic. By treating your microwave with the same care as your stovetop or sink, you're protecting your family from unnecessary bacteria.
Daily Maintenance: The "5-Second Rule" for Microwaves
Deep cleaning is great, but prevention is far better. You don't need to pull out the heavy-duty supplies every time you heat up coffee. Small, consistent habits make a massive difference in how easy (or hard) the deep clean will be later.
1. The Post-Use Wipe
After your microwave finishes its cycle and you remove your food, grab a damp microfiber cloth or a paper towel. Give the interior a quick wipe-down while it's still warm (but not scalding). This is the golden rule: clean while it's warm.
Warm grease is soft and liquid; cold grease is hard and sticky. Wiping away splatters immediately prevents them from baking onto the plastic or glass walls during your next use. It takes less than 30 seconds and saves you 15 minutes of scrubbing later. If you're in a rush, a damp paper towel is perfectly effective.
2. Use a Cover to Contain the Mess
This sounds obvious, but many people skip it. Whether it's a dedicated microwave splatter cover, a microwave-safe plate placed upside down, or even a simple piece of parchment paper, using a barrier is a game-changer.
I prefer using a microwave-safe glass lid or a silicone cover. They allow steam to escape while catching the inevitable "pop" from a burrito or a bowl of soup. It keeps the ceiling and walls clean for weeks at a time. If you don't have a cover, a damp paper towel placed over an open bowl works wonders too.
3. Avoid Overheating
We've all been guilty of it: setting the timer for "too long" because we're running late. Overheating food is a primary cause of splatters and burns. When liquids boil over or fats reach their smoke point, they create a mess that's hard to clean.
Stick to the recommended times on your recipes or use the defrost setting for frozen items. If you're reheating something, pause halfway through to stir it. This distributes the heat evenly and reduces the likelihood of a sudden boil-over.
Deep Cleaning: Natural Methods That Actually Work
Sometimes, despite our best efforts, things get stuck. Maybe you forgot to wipe it after heating a pizza, or a sauce bubbled over while you were distracted. Don't reach for the harsh chemical sprays just yet. Nature has some powerful cleaning agents that are safer, cheaper, and often more effective.
1. The Steam Cleaning Method (Vinegar or Lemon)
This is the most popular and effective method for a reason. It uses steam to loosen grime without any scrubbing.
- Mix: Fill a microwave-safe bowl with one cup of water and add two tablespoons of white vinegar (or the juice of half a lemon). You can also toss in some lemon slices for a fresh scent.
- Heat: Place the bowl in the microwave and run it on high for 3–5 minutes, or until the water boils vigorously. You'll see steam filling the cavity.
- Wait: This is the crucial step. Do not open the door immediately! Let the bowl sit inside for another 5 to 10 minutes. The trapped steam will condense on the walls and soften the grease.
- Wipe: Carefully remove the hot bowl (it will be steaming!) and wipe down the interior with a sponge or cloth. The grime should slide right off.
This method is safe for all microwave types, including those with plastic interiors, and avoids the harsh fumes of chemical cleaners.
2. The Baking Soda Paste for Stubborn Stains
If you have a burnt-on spot that the steam didn't budge, baking soda is your next best friend. It's a mild abrasive that scrubs without scratching surfaces.
- Paste: Mix two tablespoons of baking soda with one tablespoon of water to form a thick paste.
- Apply: Spread the paste over the stubborn stain or burnt area. Let it sit for 15–20 minutes.
- Scrub: Use a non-abrasive sponge to gently scrub the area. The baking soda will lift the carbonized food particles.
- Rinse: Wipe clean with a damp cloth and rinse thoroughly.
Baking soda is also excellent for neutralizing odors, so it's a dual-purpose tool in your cleaning arsenal.
3. Commercial Cleaners (Use with Caution)
If natural methods don't cut it, there are microwave-specific cleaners available at most grocery stores. However, use these only as a last resort. Always read the label to ensure they are safe for microwaves and follow the ventilation instructions strictly. Harsh chemicals can leave toxic residues that might transfer to your food or damage the interior coating over time.
Removing Persistent Odors
Sometimes you've cleaned the microwave, but it still smells like burnt onions or fish. These odors can be stubborn and linger for days. Here are some targeted tricks to get rid of them.
Odor Removal Hacks
- The Coffee Ground Trick: Place a small bowl of fresh, used coffee grounds inside the microwave (leave the door slightly ajar) for 24 hours. Coffee is excellent at absorbing strong odors.
- Citrus Power: Boil orange or lemon peels in water for 10 minutes. The citrus oils not only neutralize smells but leave a fresh scent behind.
- Charcoal Filters: For persistent, deep-seated odors, place an activated charcoal filter inside the microwave for 24–48 hours. It acts like a sponge for airborne particles and smells.
If you find that your kitchen is generally full of odors from cooking or other sources, you might also want to check out our guide on how to naturally eliminate floor odors for fresh clean floors. The same principles of natural absorption apply across your entire home.
Common Mistakes to Avoid
We all make mistakes, but some cleaning habits can actually do more harm than good. Here are the pitfalls to watch out for.
- Using Bleach or Abrasive Scrubbers: Never use bleach inside a microwave; it can react with metal parts and release toxic fumes. Also, avoid steel wool or harsh scouring pads, which can scratch the interior coating and make future cleaning even harder.
- Ignoring the Door Seal: The rubber gasket around the door is where odors love to hide. Wipe it down weekly with a damp cloth and a little vinegar. If you miss this spot, that smell will just keep coming back.
- Forgetting the Turntable: The glass turntable is a hotspot for food particles. Remove it after every deep clean and wash it in the sink with warm soapy water. Don't forget to clean the rollers underneath it too!
Maximizing Microwave Efficiency with Kitchen Organization
A clean microwave is just one part of a well-functioning kitchen. If your workspace is cluttered, you're more likely to rush and make messes. A tidy kitchen promotes better habits.
If you're struggling with storage or efficient layouts, consider checking out our guide on how to clean your kitchen after heavy meal prep. Organizing your microwave-safe containers and keeping a dedicated spot for covers can make the daily wipe-down routine much faster. When everything has a place, you're less likely to leave things behind or rush through cleaning.
Storage Tips for Microwave Accessories
Keep a small basket or bin near your microwave for items like lids, parchment paper, and reusable covers. This ensures you always have the tools you need to prevent splatters in the first place. It's a small change that pays off over time.
FAQ: Your Questions Answered
How often should I clean my microwave?
You should wipe down the interior after every use to prevent buildup, and perform a deep steam clean once a week or whenever you notice odors. If you have a large family or cook frequently, aim for a weekly deep clean regardless of visible mess.
Can I use vinegar and water for all microwave types?
Yes, the steam method with vinegar is safe for almost all microwaves, including those with plastic interiors. However, avoid using undiluted vinegar on metal components or older models with exposed heating elements. Always rinse the interior with water afterward to remove any acidic residue.
What if my microwave has a burnt smell that won't go away?
Start by boiling a bowl of water with lemon slices or coffee grounds inside for 10 minutes, then let it sit with the door closed. If the smell persists after a few days, try placing an open box of baking soda or activated charcoal inside overnight. If the odor remains, it might be trapped in the ventilation system.
Is baking soda safe for microwave interiors?
Absolutely. Baking soda is non-abrasive and safe for most microwave surfaces, including glass and plastic. It's also great for neutralizing odors. Just make sure to rinse it off thoroughly with a damp cloth after use so no powder residue remains.
How do I clean a microwave with a plastic interior?
The steam method is ideal for plastic interiors as it uses moisture rather than abrasion. Use the vinegar or lemon juice technique, but avoid using harsh scouring pads that could scratch the plastic. A soft microfiber cloth is your best tool here.
Can I use a microwave to clean itself?
Some modern microwaves feature self-cleaning modes that generate high heat to burn off residue, but these are rare and not suitable for all models. Most microwaves require manual cleaning. Always check your user manual before attempting any automated cleaning cycles.
Final Thoughts
Keeping your microwave clean doesn't have to be a chore or a source of frustration. By incorporating simple habits like wiping it down after use and using natural steam cleaners, you can maintain a fresh, hygienic appliance with minimal effort. It's not just about looking good; it's about ensuring your food tastes right and staying safe from bacteria.
If you're looking to improve your overall kitchen workflow, combining these cleaning habits with better organization can make a world of difference. For more tips on maintaining a clean and efficient home environment, you might also find our guide on how to clean office furniture and keep your workspace professional useful, as the principles of regular maintenance apply everywhere.
With these strategies, your microwave will stay sparkling, and your meals will taste better than ever. Happy cleaning!
Note: This article provides general cleaning advice based on common household practices. Always refer to your specific appliance's user manual for manufacturer-recommended cleaning procedures and safety warnings.